Raul Carini - NextJs Blog
• 0 views
Where did the idea come from?
Like many developers, I needed a digital space to showcase my skills and projects. I had a portfolio in the past, but let's be honest—it felt like a chore to keep it updated. Life gets busy, right? If you're curious (or feeling brave), you can find my old portfolio collecting digital dust on my GitHub.
But why combine a portfolio and blog in one place? For me, it's about creating a holistic picture of who I am as a developer. It's not just about showing off polished projects (though that's fun too!); it's also about sharing the thought process, challenges, and those "aha!" moments along the way.
This blog allows me to pull back the curtain on my creative journey. I can delve into the technologies I use, share learning experiences (successes and struggles), and hopefully offer insights for others on a similar path. It's a way to connect with the wider dev community, creating a space for shared learning and growth.
To create this website I was inspired by three other blogs/portfolios created by shuding_,
emilkowalski_ and
leerob.
Stop by and check out their work if you haven't heard of them before.
The website must be extremely simple
Maintaining a website can sometimes feel like a full-time job. While I enjoy coding, I didn't want to spend hours managing a complex CMS or fixing code just to update a blog. I needed a solution that would let me focus on what really matters: creating and sharing content.
That's why I made simplicity a priority when building this site. The goal was to design a platform that gets out of my way and allows me to effortlessly share my work and thoughts. After all, when inspiration strikes to write a new post or showcase a project, I want to act quickly without unnecessary hurdles.
How is the blog structured?
Speaking of keeping things streamlined, let's talk a bit about the technical side of things. Under the hood, this website is powered by Next.js 14, a React framework I've really come to love for its speed, flexibility, and developer-friendly approach.
One of the coolest features? Using MDX files for my blog posts! MDX lets me seamlessly blend Markdown (a super simple writing language) with custom React components. This means I can easily spice up my writing with interactive elements, code snippets that you can actually run right in your browser, and even embed full-blown data visualizations - all without breaking a sweat. It's the perfect blend of power and simplicity!
How do I read content files and metadata?
Okay, let's get technical! When it comes to serving up those insightful blog posts, here's how the magic happens:
-
Fetching the Files: I use a Node.js module called
fs(File System) to directly read the contents of all MDX files within my "posts" directory. These files are parsed to separate the frontmatter (metadata like title, date, etc.) from the actual content. -
Extracting Metadata: A regular expression is used to neatly pluck out the frontmatter from each MDX file. This metadata is then transformed into a JavaScript object, making it easy to use within my application.
-
Generating Static Paths: Next.js's
getStaticPathsfunction comes into play here. This powerful function pre-renders each blog post at build time, creating individual HTML pages for lightning-fast loading and improved SEO. -
Rendering with MDXRemote: This is where things get really interesting. I use a package called
next-mdx-remoteto convert the Markdown content of each blog post into actual React components. Remember those custom React components I mentioned earlier? This is where they shine!MDXRemoterenders the transformed MDX content, bringing in my custom components for images, videos, code snippets, and even tweets, creating a rich and engaging reading experience.
Here's an example of how the files are structured:
my-project
  ├── app
  │   ├── [slug]
  │   │   └── page.(tsx/js)
  │   └── posts
  │       ├── welcome.(mdx/md)
  │       └── raulcarini-dev.(mdx/md)
  |── mdx-components.(tsx/js)
  └── package.json
This entire process ensures a super smooth development experience for me, and a blazing-fast, SEO-friendly, and visually appealing blog for you!
Whitch is the beast way to render a mdx file?
In Next.js 14, the most efficient and recommended approach for rendering MDX files is to use the official @next/mdx package in conjunction with the App Router and Server Components.
This method provides an optimal balance of performance, flexibility, and ease of use. To implement this, you'll first need to install @next/mdx and @mdx-js/react, then configure your next.config.js to use the MDX plugin.
Once set up, you can create .mdx files directly in your app directory, and Next.js will automatically render them as pages.
For dynamic content, you can use the compileMDX function from next-mdx-remote within a Server Component, allowing you to fetch and render MDX content from external sources without sacrificing performance.
This approach leverages the full power of Next.js 14's server-side rendering capabilities, ensuring fast initial page loads and improved SEO.
Additionally, it seamlessly integrates with other Next.js features like image optimization and font optimization, providing a comprehensive solution for rendering rich, interactive content in your Next.js 14 applications.
Why i use next-mdx-remote?
While Next.js 14 offers the handy @next/mdx package for rendering MDX files, I decided to go with next-mdx-remote for this blog.
It might seem like a slightly more complex route at first glance, but the level of control and flexibility it unlocks is well worth the effort.
Here's a deeper dive into the reasons behind my choice:
-
Dynamic Component Mapping: The Power of Choice With
next-mdx-remote, I'm not limited to static component mappings defined at build time. I can dynamically decide which React components should render specific MDX elements while the application is running. This means I can create more dynamic and engaging content, tailoring the presentation to fit each blog post perfectly. -
Customization on Steroids:
next-mdx-remoteempowers me to do some really cool stuff with my MDX content:- I can create custom shortcodes for frequently used elements, making my writing process smoother.
- Dynamic data injection becomes a breeze, opening up possibilities for personalized content and interactive elements.
- I can even experiment with A/B testing different versions of my content to see what resonates best with my readers!
-
Server-Side Rendering: Speed and SEO
next-mdx-remoteintegrates seamlessly with Next.js 14's Server Components, giving me the best of both worlds. I get all the speed benefits and SEO advantages of server-side rendering while still enjoying the flexibility ofnext-mdx-remote. This means faster page loads for my readers and better visibility in search engine results - a win-win!
So, while @next/mdx might be a great starting point for simple use cases, next-mdx-remote was the perfect fit for this blog, giving me the granular control and customization I craved!
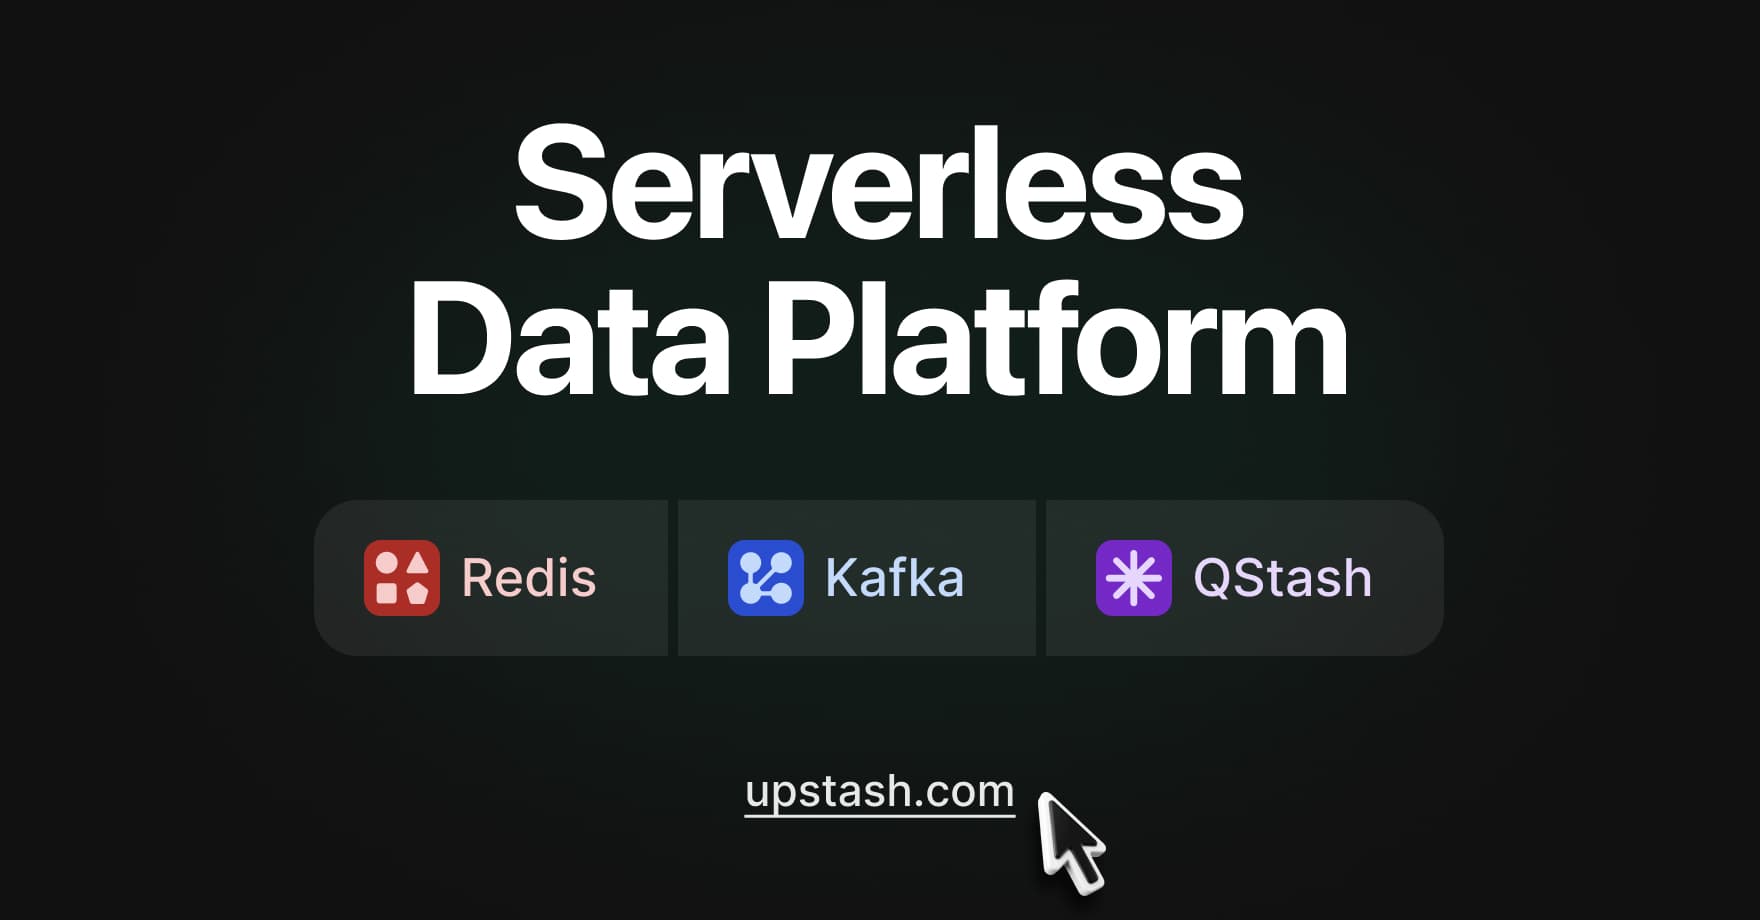
Page Views with Upstash Redis
Transparency is cool, right? I like to keep track of which blog posts resonate most with readers, so I've added a simple page view counter using the blazing-fast Upstash Redis.
Here's how it works:
-
Every Click Counts: Whenever you load a blog post, a neat little function is called behind the scenes. This function uses the Upstash Redis client to increment a counter specifically associated with that post's URL.
-
Storing the Stats: Upstash, being the awesome serverless Redis database that it is, stores these page view counts in a flash.
-
Displaying the Numbers: Finally, the total page view count for each post is fetched from Upstash Redis and displayed proudly for all to see!
Here's a snippet of the code magic:
import { Redis } from "@upstash/redis";

const redis = new Redis({
  url: process.env.UPSTASH_REDIS_REST_URL,
  token: process.env.UPSTASH_REDIS_REST_TOKEN,
});

await redis.incr("@blog/pageviews:" + path);
const views = await redis.get("@blog/pageviews:" + path);
Why the blog use dynamic page and not static?
You might be wondering - why does adding a simple page view counter change how my entire blog works? Well, it boils down to the difference between static and dynamic content.
Next.js is famous for its static site generation (SSG) prowess. It takes our components and bakes them into super-fast, static HTML files at build time. But here's the catch: SSG can only work with data it knows before the website goes live.
Our page view counter throws a wrench into that static world. We need those counts to update in real-time as people visit, long after the build process is done. That's where the magic of Next.js Serverless Functions comes in!
By adding that Upstash Redis connection, Next.js realizes we need to fetch data dynamically. It cleverly converts our MDX pages (or specific components within them) into serverless functions. These functions live on a server and spring into action whenever someone loads a blog post.
PPR to the Rescue: The Best of Both Worlds
Remember how we talked about our page view counter forcing us into the realm of serverless functions? Well, there's an even more elegant solution in Next.js 14 - Partial Prerendering (PPR)!
PPR: A Hybrid Hero
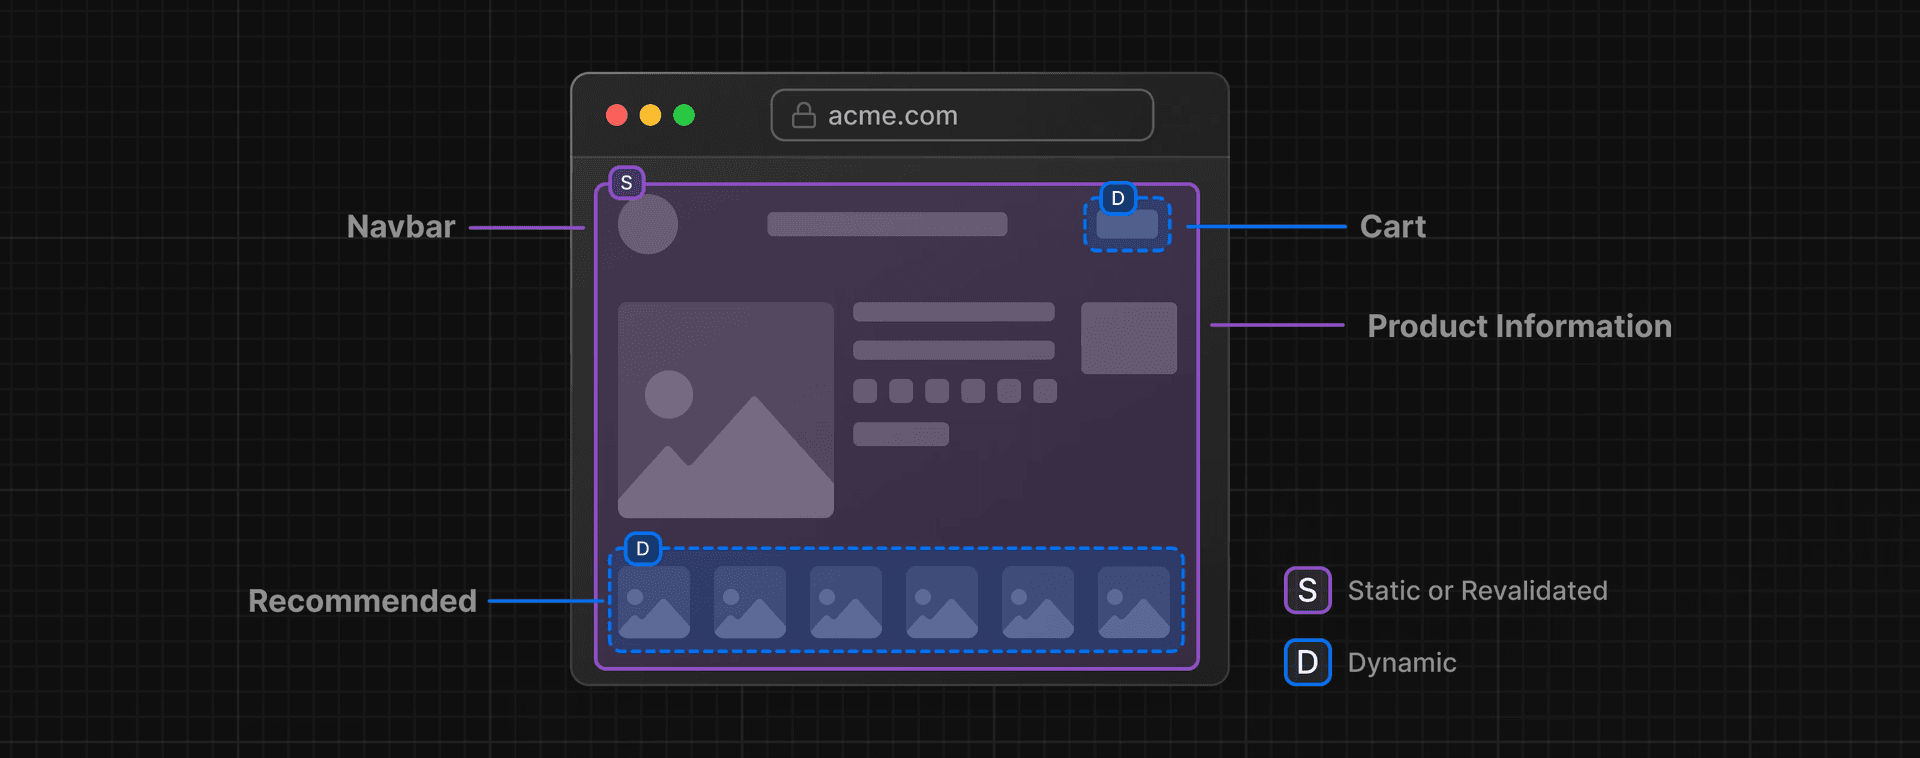
PPR is a clever rendering model that blends the speed of static content with the dynamism of server-side rendering. Imagine this:
-
Building the Shell: When your Next.js 14 site is built, PPR generates a static "shell" for each page. This shell contains all the parts that can remain static, like our blog post's title, author, and the main layout elements.
-
Placeholders for Dynamism: Within the static shell, PPR leaves special placeholders for the content that needs to be dynamic - in our case, the page view counter.
-
Lightning-Fast First Load: When someone visits your blog post, their browser receives that static shell almost instantly, making the page appear to load incredibly fast!
-
Dynamic Data Fills the Gaps: Behind the scenes, Next.js fetches the dynamic content (those page view counts from Redis). As soon as the data is ready, it's injected into the placeholders within the static shell, seamlessly updating the page without a full reload.
Why PPR is Perfect for This Blog
PPR gives us the best of both worlds:
-
Blazing-Fast Initial Loads: Readers see most of the content almost instantly thanks to the static shell, creating a smooth, enjoyable experience.
-
Dynamic Page Views: Our page view counter remains accurate and updates in real time, thanks to PPR's ability to fetch data on demand.
-
SEO Advantages: Search engines love static content, and with PPR, they can still crawl and index most of our blog post content without a hitch.
PPR might sound a bit magical (okay, it is pretty magical!), but it's a real game-changer in the world of Next.js development. By intelligently combining static and dynamic rendering, it provides a win-win solution for performance and functionality.
The Newsletter (Powered by Resend)
Want to stay updated on new blog posts, exciting projects, and maybe even some behind-the-scenes insights? Then you need to join my newsletter!
I decided to create a newsletter because I wanted to build a more direct line of communication with readers and fellow developers. It's a way to share my journey, dive deeper into technical topics, and foster a sense of community around the things we're all passionate about.
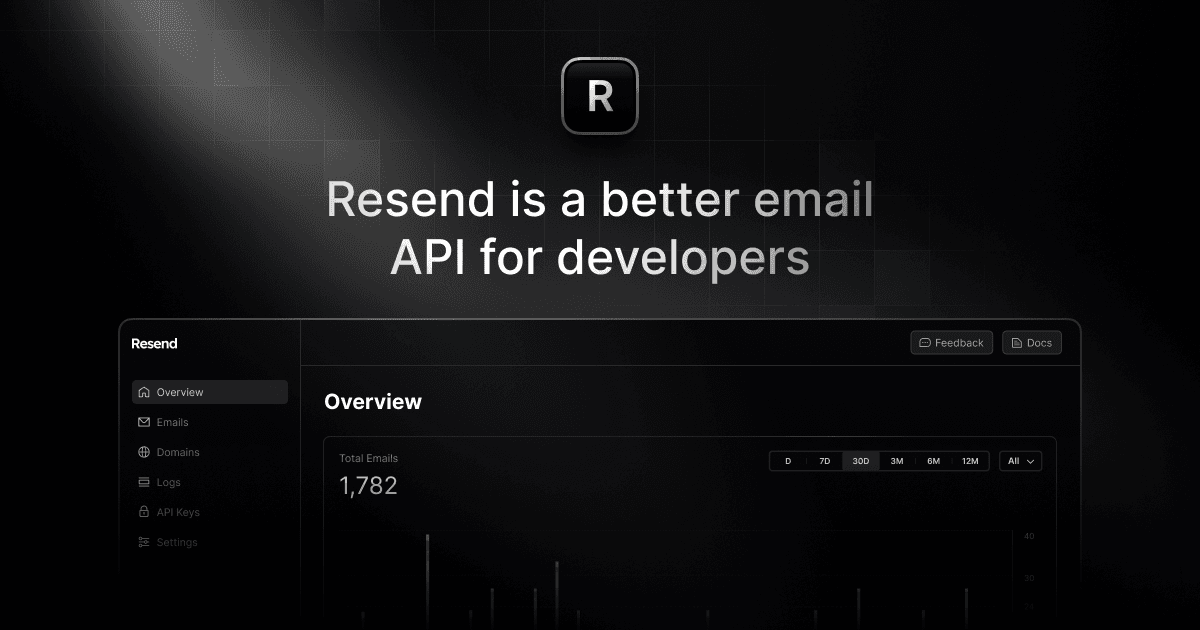
Why Resend?
Choosing the right platform for my newsletter was important. I wanted something:
-
Developer-Friendly: As a developer, I appreciate tools that are easy to integrate and play nicely with my existing workflow. Resend's API and documentation made setting up the newsletter a breeze.
-
Reliable and Efficient: Deliverability is key! I need to know that my newsletters are actually reaching your inboxes. Resend has a stellar reputation for reliable email delivery.
-
Simple and Affordable: I'm not running a giant corporation here! Resend's pricing is incredibly developer-friendly, making it accessible to independent creators like myself.
So, what are you waiting for? Head over to the subscription form and join the conversation! I promise to keep your inbox filled with valuable insights, interesting links.
Checking Out the Stats Page
Transparency is important to me, and I know many of you are curious about the blog's reach and how it's performing. That's why I've created a dedicated stats page!
Instead of building a custom analytics solution (which, let's be honest, can be a rabbit hole of complexity!), I'm keeping things simple and relying on Cloudflare Analytics.

Why Cloudflare?
-
Built-In Goodness: I'm already using Cloudflare for its awesome performance and security benefits, so why not take advantage of their built-in analytics as well?
-
Privacy-Focused: Cloudflare Analytics is privacy-first and doesn't rely on pesky cookies or track users across the web. That aligns perfectly with my commitment to respecting your privacy.
-
Easy Integration: Setting up Cloudflare Analytics was literally a matter of a few clicks - no complex configurations or code required!
Head over to the stats page to see the latest numbers! I think you'll find it interesting to get a glimpse into the blog's growth and the content that resonates most with readers.
What's next?
This space is constantly evolving, and I have exciting new projects on the horizon that I can't wait to share with you.
Coming Soon: Dive into Archive Space
Keep an eye out for my upcoming post on Archive Space, a web application I built to simplify file archiving. We'll explore the technical details, challenges faced, and lessons learned.
A Sneak Peek into the Future
This blog is a work in progress—just like my coding journey! Here are some features and ideas I'm planning to implement:
- Interactive elements: I'm experimenting with ways to make the blog more engaging, including interactive code demos and in-browser tools.
- Deep technical dives: Expect more in-depth posts on specific technologies, design patterns, and development concepts.
- Community-driven content: I'm looking into adding guest posts, open discussions, and other ways for the community to contribute.
Conclusion
So, there you have it—the story behind this corner of the internet! What started as a simple portfolio has grown into a platform for sharing, learning, and connecting. By documenting my process, challenges, and triumphs, I hope to help others navigate the exciting world of web development.
But this is far from the finish line. Just like the code I write, this blog will continue to grow, adapt, and (hopefully) become even better over time.
Thanks for joining me on this journey! Be sure to subscribe to the newsletter to stay in the loop, and don't hesitate to reach out if you have any questions, suggestions, or just want to chat about all things code.